Bad Bayou N Scale Halloween Diorama Revisited 2018 | Part 2
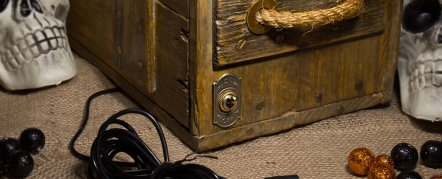
 After we finished Part 1 of this series, we realized the brass toggle switch we’re using for the main power was installed upside down! Quickly ordering a new switch, we then dug the “incorrect” switch out of the epoxy used to mount it in the shadowbox with a rotary tool.
So… funny story, the original switch was not installed upside down, I only thought it was at 3am! With the new switch now in place, and installed in exactly the same orientation as the first switch, all is well. You just never get too old for “measure twice, cut once”. We installed a 10’ DC extension for our main power in, this length cable will allow for easy placement on a shelf.
A white LED strip light was originally used in the back/top of the box. I had wired this in to a flashing circuit to simulate lightning but the more I looked at it, it was just too harsh, it didn’t give the atmosphere to the piece I was looking for. I applied some craft paints to the strip until happy with the results, and then added a clear layer on top for protection. The tree bark on the removable back panel now has a nice orange-red look to it.
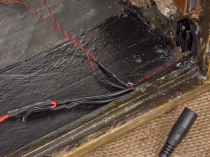
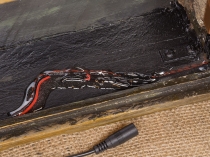
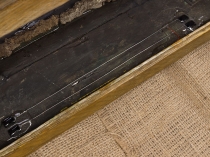
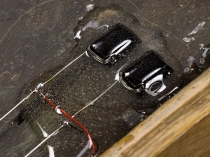
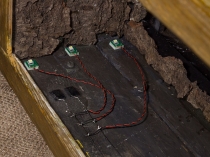
Last year when this box was originally built, I also used a section of LED strip lighting to the top/front of the box, but I thought we could do better by adding single LEDs here and there for a more organic feel. Rather than running each single LED wire to the distribution bar in the back of the box, I put together a little 12V bus where the LED strip was.
This power bus will allow for easier light placement without having a mass of individual twisted wires running all over the place. As with many items in this build, I used a 2-part epoxy to both attach and insulate this power bus. Once all LEDs are in place, I’ll give everything a coat of the epoxy to make sure nothing comes loose over time.
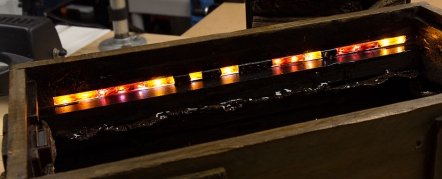
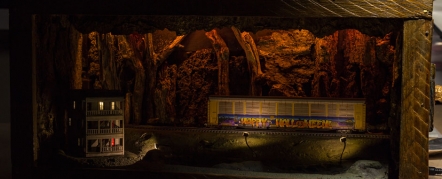
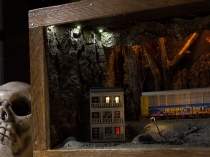
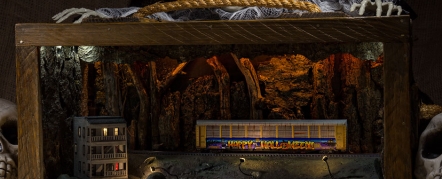
We’re again using basic cool white LEDs that will all get painted with the same craft paint we used on the LED strip in the back of the box. The last test shot shown here gives an idea of what we’re going for, enough light so you’ll be able to see the details in the box, but not so much light that it takes away from the atmosphere of the piece.
It never ceases to amaze me just how many little details and decisions can go in to a seemingly simple project!
Category: Raildig Build Projects


