Bad Bayou N Scale Halloween Diorama Revisited 2018 | Part 3
 Here’s the penultimate article for the 2018 MTL themed, Halloween Bad Bayou N scale shadowbox. That really is a mouthful! In the last article we were painting LED strip lights and really setting up for the addition of even more LEDs and LED effects. Well clearly, we got a bit obsessed since then.
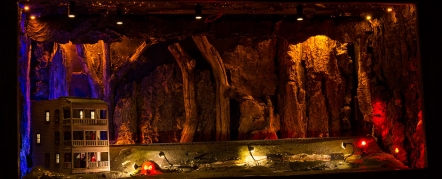
I am happy to say that we will be adding no more LEDs at this time; we’re LED full with over 50 of them installed. In the first article in this 2018 Revisit series I talked about how I wanted to go with Disney-like, Pirates of the Caribbean style lighting scheme in this little box. After lots of nights tinkering with light color and placement, I’m feeling pretty good about the results.
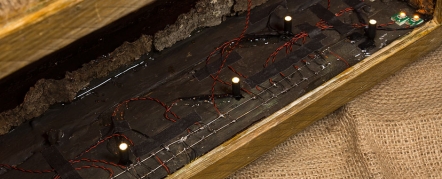
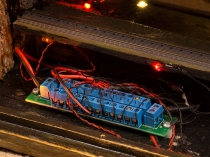
The big detail I took from looking at lots of POTC images was the sheer quantity of lights they use to create atmosphere. One or two LED painted LED strips was just not going to give me the detail I wanted. I’m now glad I used not only a large power distribution block on the bottom of this box, but also that little DIY distribution bar I added to the top of the box.
A big addition to this piece, and at some point I’d like to shoot a video to highlight them, are LED effects from Evans Designs (https://www.modeltrainsoftware.com/). I’m using their LED welding effects, fire effects as well as a handful of individual 1.8mm flickering LEDs in red, orange and blue. They really are a terrific company to work with, very helpful folks with great products!
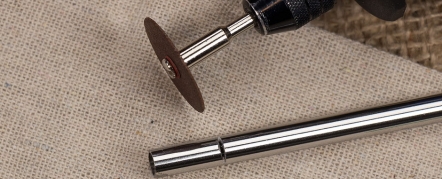
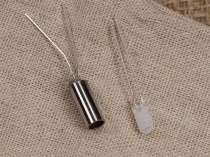
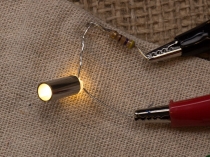
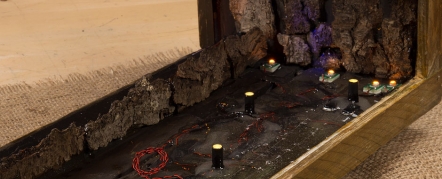
One fun little project in this article was making my own LED snoot spotlights. I wanted to highlight a few very specific areas without light spilling out in too wide a radius. I began with diffused 5mm LEDs and looked around for something tube-like that would fit over the LED. I tried a straw, and that worked well but it wasn’t all that sturdy. I found metal straws online and gave them a try… and they work nicely!
Using a Dremel cut off wheel, I cut up a number of ½” straw sections. I then had to grind the LEDs down just a bit to fit in the straw. A drop of superglue holds the lights very firmly in place. While not the brightest, being just a single LED, these LED “spotlights” did the trick for me, allowing some well-placed, subtle downward lighting.
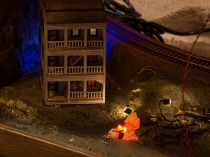
Some of the new lighting I’ve added since the previous article includes the Evans Designs welding LED kit behind the house. It gives sort of a mad-scientist-at-work look to the apartment building corner. On the right hand side of the box interior I’ve got flickering individual lights, simulating a sort of continuous fire. Also along the back of the piece there is the Evans fire LED kit, along with supplementary individual flickering LEDs. The effect is actually subtle but a lot of fun.
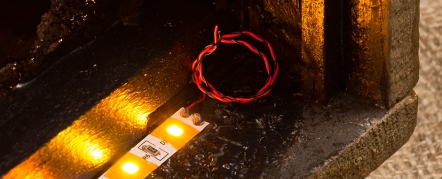
There are single LEDs on the left and right sides of the box pointing down from the top. These do a nice job of highlighting the tree bark that lines the box. I replaced the rear strip light in the back of the box with a few 3-light LED strips. These give a more subtle effect than the previous single LED strip. The last effect was a pair of flickering LEDs in front of the building, one orange and one red. This will be our campfire… our evil campfire of course!
Once my lights were set, the wiring on the top of the box as well as the DIY power distribution wires got a nice bath in epoxy. I do like the idea of sealing everything up permanently, no chance of knocking anything loose in the future when placing a train on the track.
In the next and final (Or is it??? Yeah, it is!) article, we’ll have the trees and groundcover installed. After working with so many little twisted LED wires and working to establish this basic look… the actual scenery will be the icing on our (evil!) Halloween cake.
Category: Raildig Build Projects


