Bad Bayou N Scale Halloween Diorama Revisited 2018 | Part 1
Last year, 2017, we built the Bad Bayou, Micro-Trains Line inspired, N Scale Shadowbox for Halloween. As often happens, we ran a little short on time. I’ll give some blame to a nor’easter that knocked out power for a day on October 30th 2017, but I’ll take the hit too… there’s always too little time.
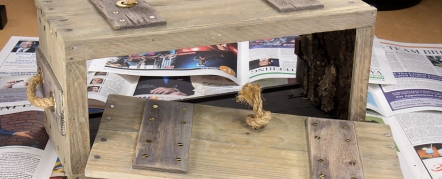
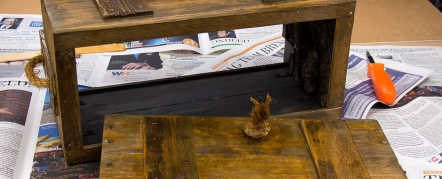
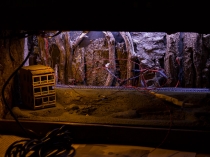
I thought revisiting the Bad Bayou would be a great idea for this Halloween and to take a little time to have some fun with the detail work. We built this shadowbox from pallet wood that came from the back of a Harbor Freight store and it was pretty damp stuff. Giving it this much time to dry has resulted in a little surprise; the home brew wood stain we made last year has faded quite a bit to a very pale green.
While this pale green looks ok, it doesn’t really feel swampy. I gave the box and rope a quick pass with amber lacquer which has the effect of giving it an almost wet, swampy look. I’ll do a bit more work on it, but the basic look is now in place.
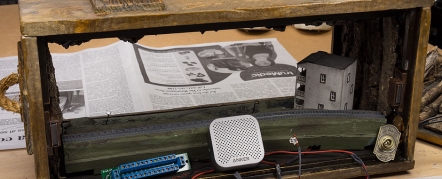
Next up for this year is sound. I really like adding a Bluetooth speaker to these little builds and then streaming appropriate sound effects. It’s amazing how much atmosphere sound adds to even a small scene. I picked up a tiny Anker speaker at just over 1” tall. Impressive how good these little things can sound, and being in an enclosed box also helps.
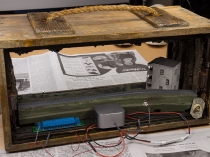
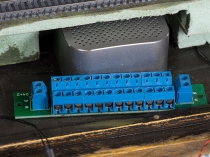
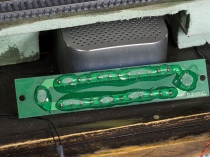
I’ll be adding a fair number of individual LEDs, and rather than just solder them all together I picked up a little power distribution bar. At just .75” wide, this will allow me to make lots of individual LED connections in an organized manner.
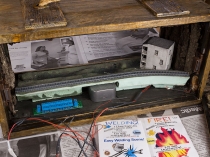
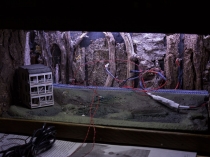
I’ve had to do some foam carving on the scene’s base in order to give myself a little wiring space to work at the back of the scene. Even with this much foam cut away, it doesn’t affect the look of the scene when viewed from the front.
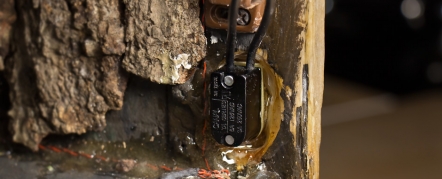
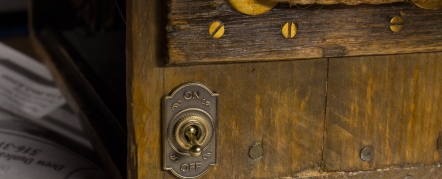
I did make one pretty large mistake here regarding the on/off switch. Last year I had placed a DC panel mount jack on the side of the box. As I looked at it this year, it just felt too modern so I decided to go with an old fashioned brass switch and plate instead. I’ll then run the DC power from a little pigtail through the bottom of the box. I dug out the old DC jack, which was installed with epoxy, and placed this switch in place… again with epoxy. Only when I hooked up a few lights did I realize I installed the switch upside down! I once again had to dig through cured epoxy to remove this switch, breaking it in the process. With the new switch on order, I wanted to next address the lighting.
Last year I installed two strips of LEDs along the top front and rear of the box, one cool white and one warm white. They looked ok, but had no real atmosphere. I thought, “who does fun, atmospheric lighting really well?”, Disney came to mind. Poking through online Disney images of the Pirates of the Caribbean ride, you notice how heavy they go on yellow and orange lights, pretty much over the top.
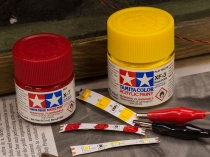
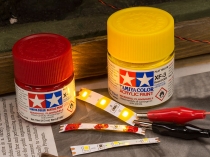
I’ll try and simulate this by painting some LEDs with Tamiya paints. I really like Tamiya paints and use them often when airbrushing. Turns out, Tamiya paint also works nicely on LEDs. I’ll need to do some color mixing, but my first little 3-LED test strip looks pretty good in getting that over the top yellow light.
In the next article I’ll have the lights well on the way to being all sorted and I’ll be able to get going on actual scenery, unless of course I epoxy something else upside down and have to chisel that out too!
Category: Raildig Build Projects


