Coal Diorama | Part 3
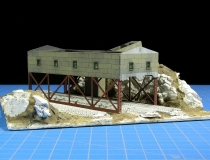
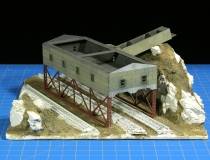
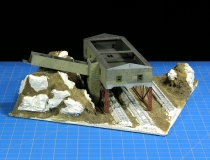
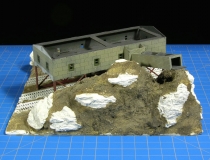
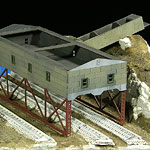 This is one part of any scene build I’m not crazy about photographing, the bare bones scenery look, still I think it’s good to share a sense of how things look worse before they look better!
I’ve laid my short track sections on cork subroadbed. I actually use a half-section of N scale cork and build up my tapered edges with ballast. I use Micro-Trains flex track and usually, as I’ve done here, spray them with a light coat of an oil-based white primer. The oil primer grabs very well to the plastic ties and allows me to really work the tie weathering without worrying about the base coat chipping off.
The rocks are cast using gray gypsum and placed into the foam scenery. Next, a base coat of soil is applied and allowed to dry fully before going further. I like to do my scenery in multiple layers, adding more soils, talus and then the top coats of grasses, etc. Starting off with this very generic coat of soil is a good start.
I tend to leave the track bare bones white until most of the surrounding scenery is completed, this way my carefully weathered track and ballast won’t pick up any stray soil dust or coloring along the way.
Once this soil is completely dry, I can start getting to the good stuff, and before long, this scene will begin to take its final shape. Hey, I better get busy, I’m on track to have this piece finished by this coming weekend!
Category: Ztrains Build Corner


