Waterfront Project | Turnout Build 1
 This weekend I began working on the turnouts for the Waterfront Project using the #8 Fast Tracks turnout fixture and Code 55 unweathered rail, a good match for Micro-Trains Line flex track. I had always referred to these Fast Tracks tools incorrectly as jigs. A quick definition of jigs vs. fixtures: a jig is a tool that guides a cutting or machining tool. A fixture on the other hand is a tool that holds the work piece precisely at the desired location. Ok then, a fixture it is as we’re building the turnout in place.
Rather than go step-by-step in the building process, Fast Tracks already has a superb set of step-by-step videos, I’d like to show you a few in-progress photos.
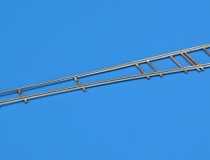
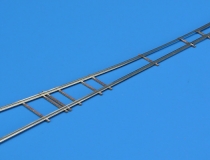
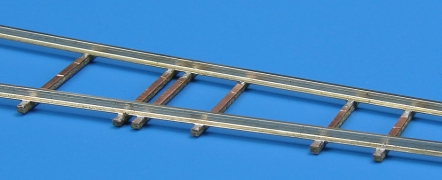
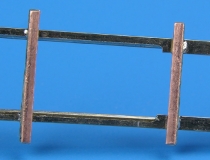
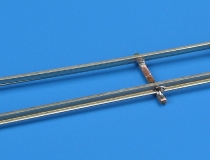
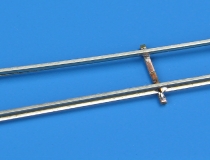
The first photos show what I feel is the first finished step in the turnout process, having the two stock rails soldered to the copper-clad ties cut from circuit board material. Years ago I purchased a used 100 watt resistance soldering unit and decided to use it for these turnouts. What I like about resistance soldering is the pinpoint control you have over exactly where the heat is applied. It’s simple enough to solder one tie to our stock rail without heating up, and loosening, an adjacent tie that’s already been soldered.
I find I use less solder with resistance soldering, making for a cleaner final appearance, no big solder blobs that could potentially interfere with Z scale wheels. All of this soldering could definitely be done with a conventional soldering iron with a fine tip but since I had the resistance unit, I thought I’d use it here.
In these photos you can also see the gaps I’ve cut in to the ties, this is done to prevent short circuits once power is applied to the rails. Again all of this is explained in great detail in the Fast Tracks videos.
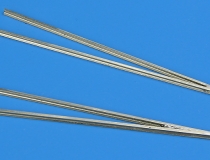
The next photos show a section of the stock rail base that has been filed away, creating a small pocket in each stock rail. These pockets will allow the switch points to sit tight against the stock rails and make wheel travel through the turnouts perfectly smooth, no jarring train motion through our turnouts. This pocket has a gentle taper to it made possible by using one of the Fast Tracks tools, the StockAid.
The last photo in this series is of a pair of frogs I’ve built. As these are my first two frogs, I knew they were less than perfect. That brings me to an important point with the Fast Tracks turnout systems, a little trial-and-error is invaluable for getting a good feel for turnout building. The nice part about this trial-and-error is that is takes just a couple of minutes to cut, file and assemble these frogs. After 30 minutes or so from errors to corrections, the new frog sections I’ve made are beautiful!
I’m sure you can already tell I’m a big fan of the Fast Tracks fixtures, especially in Z scale. I feel that Micro-Trains flex track and Fast Tracks turnouts are possibly the best combination for building great looking and reliable trackwork in Z scale. The videos from Fast Tracks make building a turnout feel more like building a kit in Z scale than the often-feared idea of hand laying track.
Category: Z Scale Basics


