Waterfront Project | Part 8
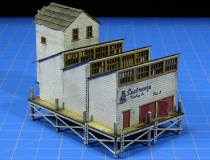
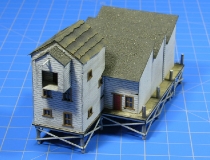
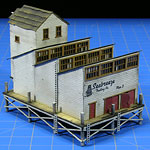 Here’s our version of the Micro-Trains Line, Pier Warehouse Kit. As with our last build, the Hotel Kit, this one has lots of interesting angles and is also surprisingly easy to assemble. On these kits I find myself more and more playing with slight color variations and subtle weathering ideas.
I don’t want to go with an over-the-top, heavily aged look with these kits but rather a general feel that holds up well to the inevitable Z scale macro photography as well as to the naked eye. It’s a balance but I find the more kits I build, the closer I’m getting to the look I want.
When building these kits I generally use a drop or two of gel CA to set my pieces in place, then once sure they look good I use a small brush and “paint” wood glue on the interior seams. This is a pretty effective way of quickly setting my main pieces in place.
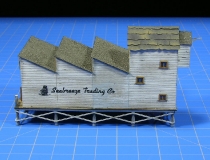
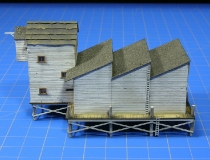
On this kit I wanted to play it a bit more basic with a white wall, aged lightly. Once a light coat of white went on, I masked off a few sections and went over with a light gray paint, then did a bit of light sanding to give the look of multiple coats of old paint.
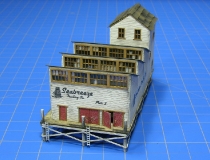
I was going to go a bit safer and paint the window frames a shade of white to match the wall but decided to try a light shade of brown instead. Not better or worse… but different. I may go back at some point and sand the window frames down a bit to reveal the natural wood color underneath. I’ll have to see how it looks once this kit is in place on our layout.
On the window panes I gave some of the smaller panes a whitewash and on some I used N scale corrugated roof material, with a bit of rust weathering powder to suggest age. It’s a small touch but it does add a little something I think!
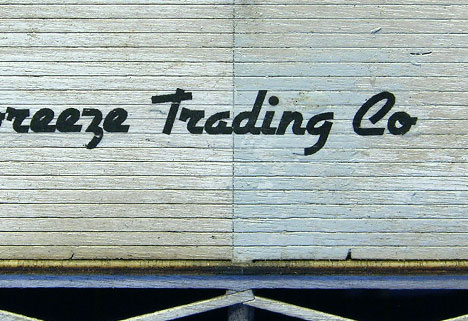 In the photo above you can see where I masked part of a side wall and gave it a light shot of dove gray paint. I then did a little sanding to knock some of the gray and the underlying white paint off, exposing the natural wood underneath. This is the kind of detail I find both interesting and a little trick to get right.
Once this decal is fully dry, I’ll go over it with a small bit of a 220 grit sandpaper to age it and make it better blend in with the age of the building.
Kit building in Z scale, it’s a process, no question about that. As with all aspects of the hobby, there’s no substitute for rolling up your sleeves and just doing it!
Postscript: After looking at my light brown window frames, I decided they didn’t work for me. Between the thickness of the frame wood and the fact that it stood out too much due to my color choice, they almost had an injection molded, plastic look to them. Not what I was going for at all, not when we’re dealing with wood with a good grain. In my eyes it cheapened the look of a terrific model.
After looking at the model again I realized pulling out the windows and frames for a repaint wouldn’t be possible. This particular model is no more, after an ill fated attempt to do just that.
This does happen… things do go wrong on occasion when building. So what do we do? We rebuild this model of course! Taking the lessons learned from this first build and applying them to the second, we build a better model.
We’ll have our rebuild online in a follow up article.
Category: Z Scale Basics


