Airbrush Acrylic Primer And Paint
 The other day a reader posted a question here regarding acrylic paints and airbrush use, here’s that question:
I was just going back over a previous article (Waterfront Project | Part 5) in the Waterfront Project series and noticed the info about using acrylic craft paint in an airbrush. Does that paint, thinned the same amount or so, also work on other materials such as plastic, resin or metal? If so, it sure beats the price of the “real” acrylic hobby paints! Thank you for an interesting series of articles. – Jack
Good question! With new acrylic paint formulations coming out all the time, I poked around to see what I could find. Enamel based paints have long been popular due to their durability but I have to admit, I like working with acrylic paints due to the ease of use in an airbrush and the absence of nasty fumes and the cost. In addition and most important, acrylics have come a long way in terms of durability.
On wood laser kits, I generally use the inexpensive craft paints at $1.50 for a 2-ounce bottle as opposed to something like Polly Scale paints, which can run between $5.00 and $6.00 for a 1-ounce bottle. If you stock up heavily on colors, this is a real price difference.
I use generic blue windshield wiper fluid as my paint thinner. I like to mix my acrylics to the consistency of 2% milk… maybe a touch thicker. After the paint is mixed, I strain the paint through a stocking or pantyhose material to strain out any lumps. At this point, the paint is very smooth in texture and ready for the airbrush. I use the Paasche H airbrush, nothing fancy but a real workhorse.
Using acrylics directly on material other than wood can be tricky. Styrene, resin or metal (as our reader, Jack, asked about) doesn’t quite have the “tooth”, or surface texture, to guarantee good paint adhesion.
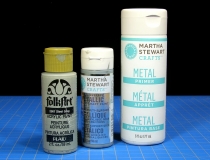
Being in an acrylic and budget conscious mood, I looked around to see what kind of acrylic primer was both readily available and could be easily thinned. I saw several references to a new paint now carried by Michael’s Craft Stores, a line by Martha Stewart. In this new line of craft paints, the metal primer looked interesting at $5.99 for a 6-ounce bottle so I decided to try it. I have to admit I was pleasantly surprised!
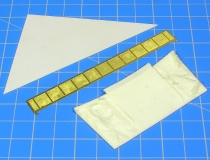
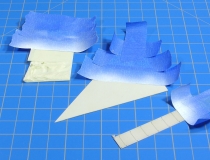
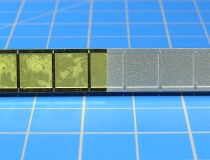
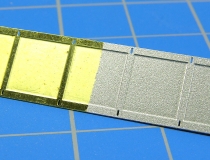
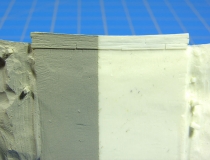
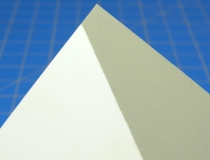
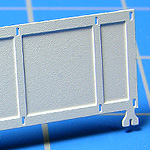
I thinned the primer down in the same way I thin my paint, with washer fluid down to that milky consistency. I painted several light coats of primer on to a section of a Micron-Art brass bridge, a piece of sheet styrene and a resin grade crossing. You have to be careful and not apply the paint too heavily. Unlike painting a wood kit, too much paint on a non-porous surface will just pool and hide your details.
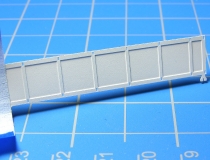
After several very thin primer coats, I let the pieces dry for about an hour and went in with my top paint coats. Now if I was in a completely nutty mood I could have sanded the primed surfaces down a bit with some 1000 grit sandpaper, but I have to admit on things like bridges or grade crossings… I like a little texture. I used a metallic paint on the bridge section and a flat gray paint on the resin and styrene test pieces.
Backing up just a second, as I was cleaning the primer from my airbrush, I was impressed with how well that thinned primer was adhering to the parts of the airbrush. Even on the glass bottle I use with my brush, the primer was adhering very well! A good sign.
Now all the pieces are dry and I’ve rubbed a thumb across all these surfaces, hard. I’ve flexed all the pieces multiple times and I’m happy to say the pain is holding perfectly. Not bad for an inexpensive mix of acrylic primer and paint! I’m sure if Martha Stewart was here (ok, in no wacky scenario can I imagine this happening) I’m sure she’d agree… it’s a good thing.
Category: Useful Tools


