The Haunted Hamlet Layout | Part 1
 Welcome to our online build of the N scale Micro-Trains Haunted Hamlet layout, a small but very scary layout! I wanted to build this little layout for some Halloween fun and maybe to get some of you to build a similar layout as a great way to introduce some younger people to the hobby. Kids love Halloween, why not slip some model trains in to the mix too?
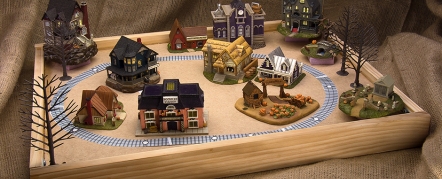
I decided to make this a small and simple oval and really let the MTL buildings shine, adding some seasonal scenery and lots of LEDs to light our hamlet. Our Haunted Hamlet is a very small layout so it’s easy to build and easily stored away to be brought out again every Halloween. I like traditions like this.
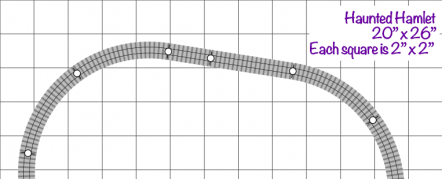
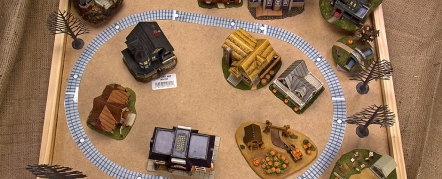
I’m using Kato’s Compact track 7” radius curves and just a couple of sections of short straight track to get my oval. Of course it seems silly to print out this simplest “track plan”, but I wanted to print it out at 1:1 scale to see how big the layout tray I was going to build had to be in order to accommodate all 12 Haunted Hamlet pieces. I figured 20” x 26” would do nicely and store easily in the off-season. Here are the track sections shown in the photos:
- 20020, N Kato Unitrack 20020. Straight 4.88″ | 2 pieces
- 20030, N Kato Unitrack 20030. Straight 2.52″ | 2 pieces
- 20172, N Kato Unitrack 20172. Curve radius 7.2″, angle 45° (Compact) | 8 pieces
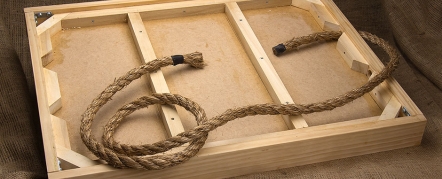
The frame for the layout is made from 1” x 3” pine with a piece of 1/4” MDF acting as the base. I wanted this base to have a very rustic look, similar to a photo of an orange wood tray I found online, so I knew I’d have to intentionally make the joints simple, sloppy and a bit off-kilter. To make sure this base would look like it was about to fall apart (ok, rustic!) but actually be very strong, I used 2 – 3/8” fluted dowels and wood glue at each joint, and further reinforced with 2 galvanized braces in each corner. Overkill, but as I decided to use 3/4” Manila rope as handles attached to the short sides of the layout, stronger is better. You can see our intentionally rustic butt joints in these photos, with Chuck the Project Manager posing at a corner.
I also added a quick framework under the layout made from 1” x 1” and 1/2” x 1” square dowels I had lying around, these dowels served as a point to screw in the ¼” MDF from above.
We’ll be using a piece of 1” extruded pink Styrofoam, sitting on the MDF, as the base for our track and buildings as well as having some of the buildings at different heights for added interest.
This of course could have all been built on a simple piece of MDF but I think by really fleshing it out, we’ll end up with a nice seasonal keepsake.
We’re looking to have this completed by October 17th, two weeks before Halloween, so we can enjoy it just in time for the holiday (and a week or two after!). Stay tuned for the next haunted installment of the Haunted Hamlet!
Article Links
Micro-Trains Line Haunted Hamlet Buildings
Haunted Hamlet Buildings
Category: Raildig Build Projects


