OrthoTape Plaster Cloth For Scenery Building
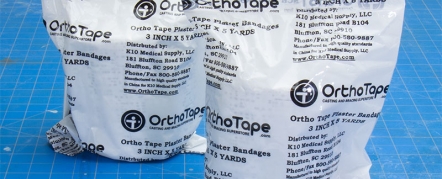
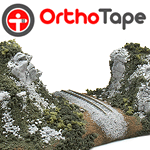 I recently built a handful of small scenes to use as “sets” in order to photograph some of our upcoming products here at Raildig and I decided to go with plaster cloth for creating the terrain. I was just about to order some of the hobby-branded plaster cloth but at the last minute looked in to medical plaster gauze as an alternative. A Google search for “medical plaster cloth” brought me to the OrthoTape website.
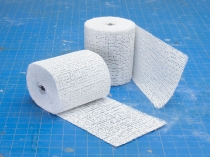
I was very pleasantly surprised at the price difference between the OrthoTape plaster cloth and the hobby-branded version. The savings on a 10-pack of 8” x 15’ cloth is almost 50% over the hobby-brand with shipping factored in, no small potatoes. I actually purchased a case of the 3” x 15’ rolls as I was building small scenes. OrthoTape sells their plaster cloth in several widths from 2” to 12”.
For this article, I put together a small scene in N scale measuring 14” long, 6” wide and 6” high. Most of us are familiar with using plaster cloth for scenery building but I took a few photos along the way for those who may not be.
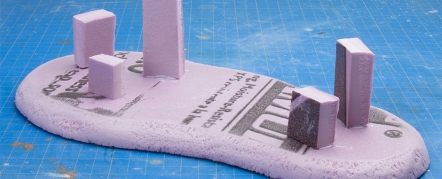
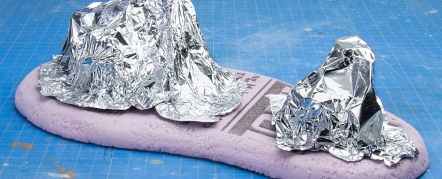
I took a scrap piece of 3/4” foam insulation and gave it a free-flowing shape with a Stanley Surform Shaver, a little hand-held rasp that works well on rigid foam. I hot-glued several foam uprights to the base and had planned to use wadded-up newspaper to form the hills. Since I wanted this to dry quickly, I instead shaped the hills from aluminum foil. Since the foil wouldn’t absorb any water from the plaster cloth, I figured the plaster cloth would dry a bit quicker (it did!) and the foil holds it shape well.
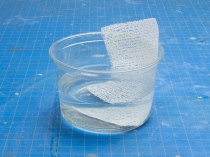
A quick dip in a bowl of water is all that’s needed for OrthoTape… really less is more; just a very quick pass through the water is all you’ll want to do. Once the plaster cloth is out of the water, I like to hold it up for a few seconds over the bowl to let the excess water drip off.
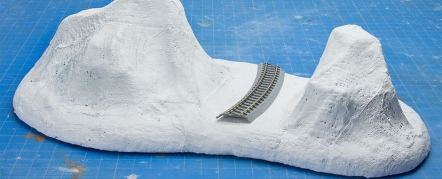
From there it’s just a matter of placing the plaster cloth on the foil and, the important part, going over the cloth several times with a wet finger to spread the plaster in to the empty holes on the cloth. This is what gives the finished surface its strength, a continuous covering of plaster.
When you’re adding the cloth, you can lay the cloth vertically, horizontally or at an angle… whatever works for getting complete coverage. I also place the cloth strips so the edges slightly overlap each other for added strength.
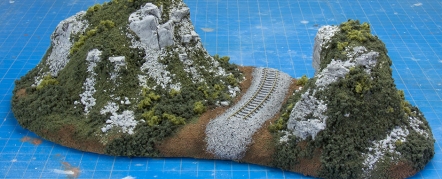
On the small test scene in this article, I put the plaster cloth on at about midnight and it was set solid enough so I could begin to add the scenery the next morning with no problem. A few rocks added with latex caulk, lots of ground foam, a bit of talus and we’re done.
On the ground foam, I soaked this scene with alcohol and then with diluted white glue, and I mean soaked it! In part, I wanted to see how well the plaster cloth held up to all this liquid. Not a hint of a problem and this little scene is now solid as a rock.
Note: You may notice that OrthoTape is advertising here on Raildig. Just to let you know, after buying and using their plaster cloth, I was impressed enough with the quality and value that I suggested they get the word out about their cloth to more model railroaders!
I’m genuinely a fan of the quality and price of OrthoTape, check it out for your next set of hills and mountains!
Article Links
OrthTape Plaster Cloth
http://orthotape.com/plaster_bandages.aspStanley Surform Shaver
http://www.homedepot.com/p/Stanley-Surform-Shaver-21-115/100654913
Category: Useful Tools


