Shortytown In Z Scale | Rokuhan Shorty
 Rokuhan recently, and in a very welcome move, introduced their Shorty Z scale locomotive chassis. This new Z scale chassis reminds me of the Kato N scale series of powered chassis, the 11-xxx series. Both are very inexpensive, nice little runners and ready to be used for all sorts of DIY projects.
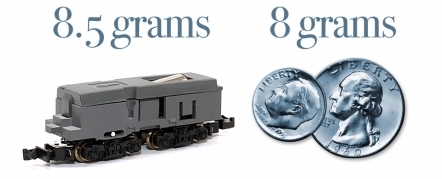
The new Rokuhan Shorty is… short, at just over 2” measured coupler-to-coupler. It weighs in at just 8.5 grams, a full half-gram more than a quarter and a dime, that’s a full 35 cents folks!
Don’t let the fact that it’s the size of a single bite-sized shredded wheat fool you though, this is a very nicely designed chassis. Both trucks pick up power, and it has 2 traction tires on the powered truck. It’s also a robust little devil. I received my Shortys from Rob Kluz over at Ztrack Magazine a few weeks ago and I’ve since been running the legs off of this chassis, easily 10 hours per day for several weeks now and it’s still running smooth and quiet. To top it all off, the Shorty costs right around $16.00.
The reason Rob actually sent me this chassis was he wanted to see if I could do something about its speed. While robust, it is a touchy critter when it comes to throttle response. It will go from a near-crawl at the 7 o’clock position to supersonic at the 9 or 10 o’clock position using the Rokuhan RC02 controller; it can be tough to dial in an appropriate speed for this chassis.
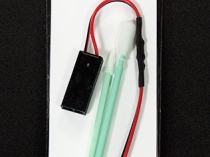
I’m happy to say I do have a nice little solution to give greater speed control to this chassis; we have a link at the end of this article on where to buy it. You can buy it through Ztrack Center and Rokuhan dealers.
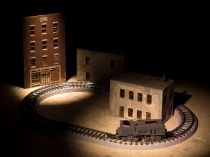
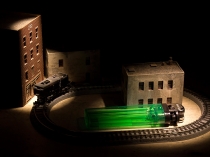
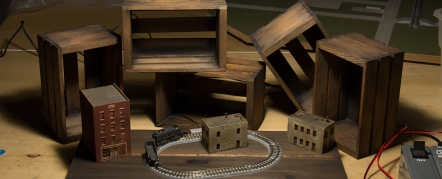
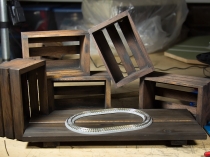
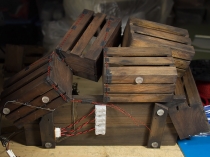
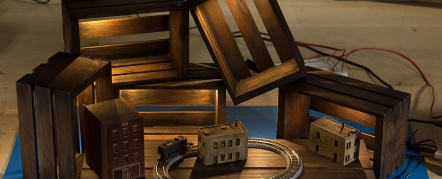
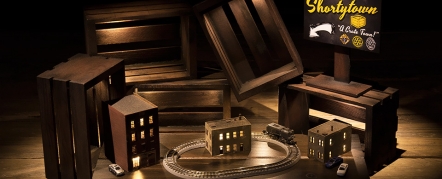
After playing with the 6” x 4” loop of Shorty track, I just couldn’t help myself so I assembled a little running scene, called (what else?) “Shortytown”. I picked up some mini-crates and a wood base at a local craft store and assembled them using epoxy. This wood is very light and I think nails, brads or screws of any size would have split the wood. It actually holds together very nicely now.
The wood was unfinished so I used my homebrew vinegar and steel wool stain from a previous article. I then went around with soot-colored weathering powder to simulate a little age and wear. A couple of coats of matte finish were applied on top to seal the weathering powder.
I thought the scene would look better with a little light using surface mount LEDs inside (and underneath) the crates. The wires were hidden from front view by running them along the angles of the crates and fixing them in place with gaffer’s tape. I may brush a little epoxy on top of the tape to lock it all in place.
These lights were good, but I wanted to add a few more lights inside a trio of kits I assembled a few years back. The two smaller building are from GCLaser and larger brick building kit is from RSLaserKits. I used warm white frosted LEDs for the building lights. I was going to add some streetlights but I wanted this to have more of a silhouette feel with lots of dark areas. I then gave the scene an appropriately oversized town sign, what can I say, I was having fun!
Article Links
Rokuhan Shorty
Ztrack CenterZtrains Slow Speed Control Wire
Ztrack CenterRSLaserKits
RSLaserKits WebsiteGCLaser
GCLaser Website
Category: Raildig Build Projects


