Civil War Era Ventilated Shed Kit
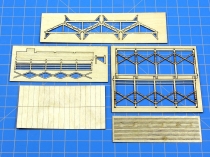
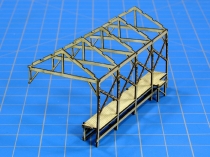
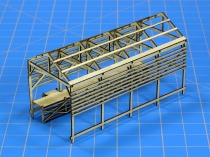
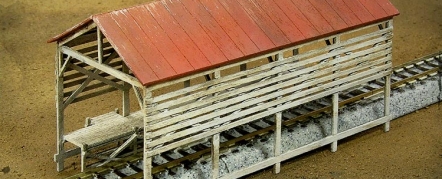
 Micro-Trains Line has a new series of N scale trains and laser cut kits based on the US Civil War era of 1861 to 1865 and I thought I’d take a look at a recent kit in the series, the Ventilated Shed (MTL #499 90 959). With a footprint of just 2” x 3.75” and cut from micro-plywood, it’s a fairly basic piece to assemble. With all kits though you want to make sure all your angles are straight when assembling and gluing. The kit comes cut on 4 laser-cut frets plus a one-piece scored roof.
Before I began working on this kit, I knew I’d be simulating a period appropriate limewash, or whitewash for the entire structure so I decided to assemble the kit first and paint later. If you decide to paint before assembly, I’d strongly suggest leaving all the cut pieces on their respective frets while painting to avoid the sections warping.
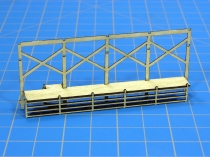
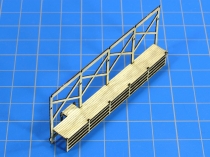
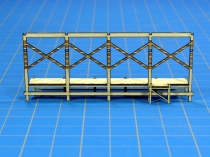
The photos here roughly match up to the directions that come with the kit and again, it’s a pretty quick piece to assemble. When building I tend to use a drop of gel CA as a tack weld near a corner just to hold the pieces together and then double check everything is squared-up. I then go over all the seams and joints with a fine brush using yellow wood glue. I find this method ensures straight joints, there’s nothing worse than laying on CA or wood glue then rushing to make sure things are square while you’re trying to assemble the pieces. The drop of gel CA allows me to take my time and look at pieces from several angles to insure a square joint.
Even laser cut plywood will often have a slight bow to it, there’s always a little wiggle room here and here with kits but as long as you make sure you joints are square when going together, you’ll be fine once the piece is fully assembled. Once you place a kit with long framework legs like this on your layout, you’ll be able to make any final squaring-up adjustments with a few drops of adhesive on the leg bottoms.
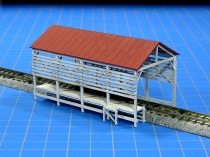
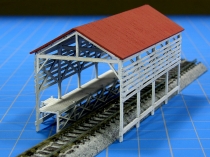
I looked around for some ideas for my roof color and decided to make this sort of a tin rusted roof. I’ve also seen a number of Civil War era buildings that were simply long wood slats, not shingles, but what appear to be continuous wood slats going from the ridge to the eaves. Not being an authority on what roof material would have been used in this context, I took a flyer on the roof color and material.
Going a limewash for this structure makes sense given the era, and once the white paint had dried, I scraped some just a bit off to simulate normal wear. After the red roof was glued down, a few basic weathering powders were applied to the whole shed to give it a hard worn feel.
What I really like about this kit is the open, see-through feel it has; you get a building that invites viewers in for a closer look. The horizontal slats and cross bracing on the walls add a nice touch. It would be a great siding structure for a parked loco or freight car.
Category: Raildig Build Projects


