Bad Bayou Halloween Diorama | Part 2
 Welcome back to the Bad Bayou Halloween Diorama, Part 2. With only a few days left before Halloween, we’re burning the midnight oil… and torches, cauldrons full of unspeakable horrors and creepy candles too! In this article we’ll figure some box details, and then go on a walk through the woods to collect some supplies for our shadowbox.
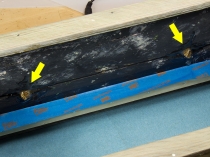
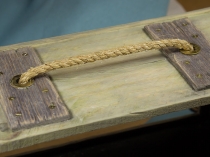
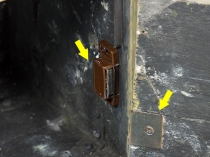
Starting off with the box basics, I needed a way to attach all of the rope handles to this box. Ordinarily I’d just tie the rope in a knot on the inside of the box, but we have so little room inside this wouldn’t work. I also tried using very small hose clamps at the ends of the ropes and while this was a bit better, they still had too high a profile plus they could rattle around a bit inside, and this wouldn’t be good for the internal wall covering I had planned.
I ended up going with our old friend, two-part epoxy. I cut the rope ends flush with the inside walls, and then worked the epoxy into the rope ends and spread it out a bit around the ends to further act as an anchor. I tested this on a scrap piece of wood first and was happy to see the rope couldn’t be pulled from the hole once the epoxy cured. Nice and clean way to attach these handles.
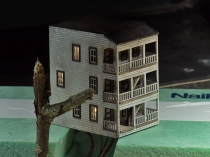
Next up was a last minute addition, a little kit I saw on eBay of basic three floor building. Now at first glance this may not look like it belongs in a swamp or bayou, but after doing Google image searches on this, I found there are lots of buildings that just don’t look like they belong out there in the woods. One photo in particular inspired me, kind of a bizarre photo taken in a Louisiana swamp. I tried to get in touch with the photographer to use this photo but never heard back, so here’s a link to our inspiration photo:
I’ve added half a dozen warm white LEDs to the building and used Microscale Kristal Klear to make the window glass, followed up with some simple weathering washes. Our kit isn’t a perfect match of course, but I think it creates a good, spooky feel.
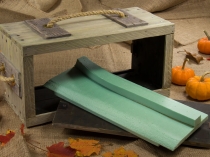
We then needed to make a foam base for the track and scenery. I used ¾” rigid foam insulation and railed the track level up using another strip of the insulation. Even in a scene this small, I like to create different heights to add more visual interest.
Now we get to the part that gave me fits! I had planned on using frosted glass at the rear of the box, backlit with LEDs and using some suitable spooky graphics printed on clear acetate. I won’t go in to all the gory detail but after trying glass, Plexiglas, commercial frosted glass, spray on frosted glass in a can, the clear acetates and LEDs… it just didn’t work the way I envisioned. I may revisit this idea in the future, but after playing with this for a couple of days I decided to go in a different direction.
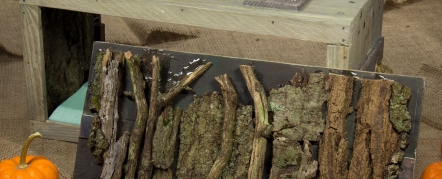
My next idea for the background (and sides) of the shadowbox was to use all natural materials. I thought I’d try using thin pieces of tree bark from fallen trees, as well as thin branches and twigs to make a sort of spooky dimensional wallpaper. Now I realize some of these pieces are out of scale for our N scale scene, but I see this as more stylized than 100% scale accurate.
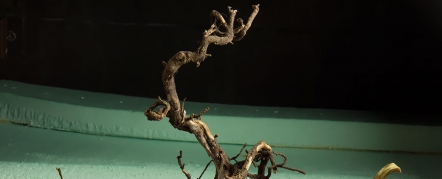
I went to a suitably haunted (no kidding, check the links below!) area here on the island and began collecting. I found a couple of small trees that had been uprooted and cut at the base as well as lots of tree bark, small branches and twigs. The tree roots have proven very useful for making gnarled old lifeless trees.
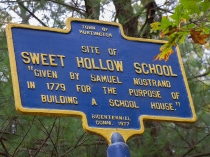
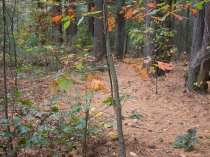
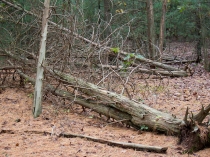
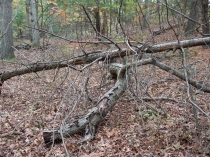
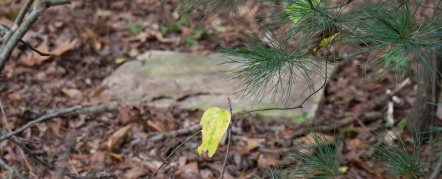
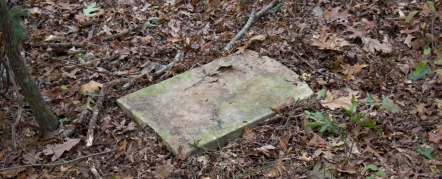
I thought I’d share a couple of photos from my “shopping trip” in the woods. It’s not quite Sleepy Hollow, but Sweet Hollow is pretty close! As with most woodsy areas, there’s a lot to choose from right at your feet. One thing I did find, and I have to admit, it gave me a little jolt when I saw it, was a very old headstone just lying there in the woods. There was a hint of an inscription but not enough to be captured with the camera in the cloudy sunlight. I would have turned it over or tried to get better shots, but I’m never quite sure where that line is between respect for the dead and curiosity. I can say this was found in the Sweet Hollow area, right down the road from Mount Misery.
When Long Island was purchased from the local Indians, the settlers were told to stay away from this area. They claimed that there were evil spirits at work on top of the old hill. At the time the hill was not known as Mount Misery. There were rumors of strange lights in the sky above the mount and a “man-beast” that roamed the hills.
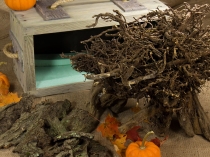
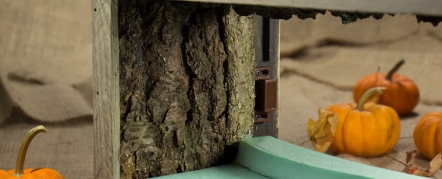
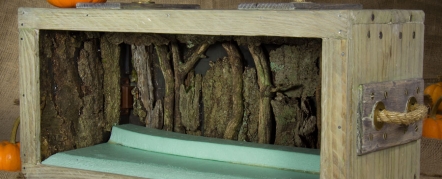
Once I shook off the ghostly apparitions in the woods, I took my tree bark and branches back home and left them in the oven for a few hours at low temp to dry out and eliminate and wee critters that were hiding in the wood (sorry critters!). I collected way more material than I needed, but better to have too much than not enough. I then basically put the bark and branches together like a jigsaw puzzle and attached it to the removable back panel and interior sides of the box using two-part epoxy. The epoxy also acts as a great way to reinforce and strengthen the old and dried bark and twigs.
It’s getting late so we better leave the Bad Bayou now… it’s 4:30 in the morning and I think I hear something outside… maybe one of those the ghostly apparitions from the woods followed me home!
Article Links
Micro-Trains N Scale BNSF Halloween Graffiti Car
Micro-TrainsSweet Hollow, NY
Long Island Paranormal Investigators, Sweet Hollow
Mount Misery, NY
Long Island Paranormal Investigators, Mount Misery
Category: Raildig Build Projects


